First start out with a photo that has a wide scale of light and darkness in it. If your photo is too light or too dark, then you may need to overlay a dark or light transparency over it (see Blending tutorial). You'll see why this is necessary in the first step.
Here is my random photo.
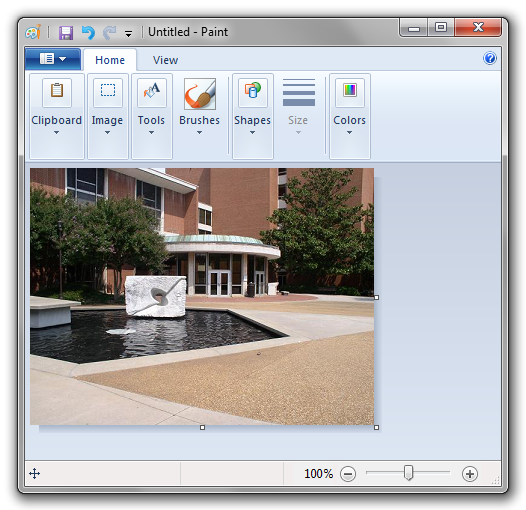
Now we're going to save the photo as a monochrome bitmap. MS Paint will complain that this will result in loss of quality. Press OK.
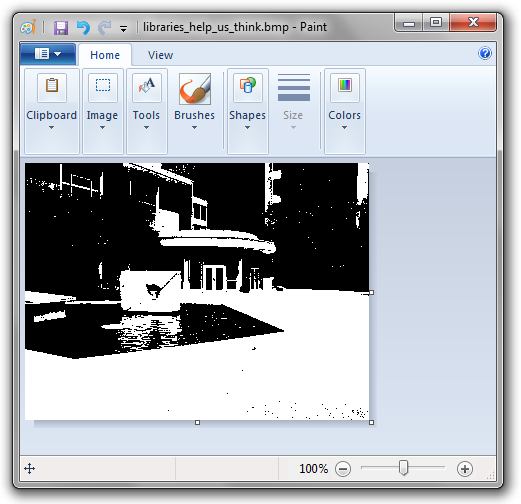
Good, good. Now open a new window of MS Paint and set it to the same size as your image and fill it in with some solid color.
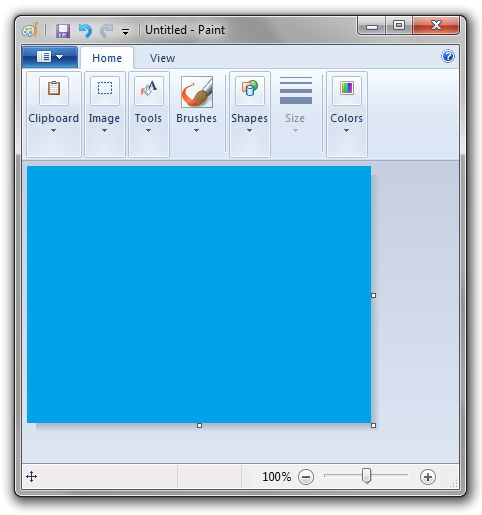
Now paste your monochrome photo and set the transparent mode on (it's the bottom option in the select menu in the Windows 7 MSPaint). Select black as the background color ("Color 2") so the other color shows through.
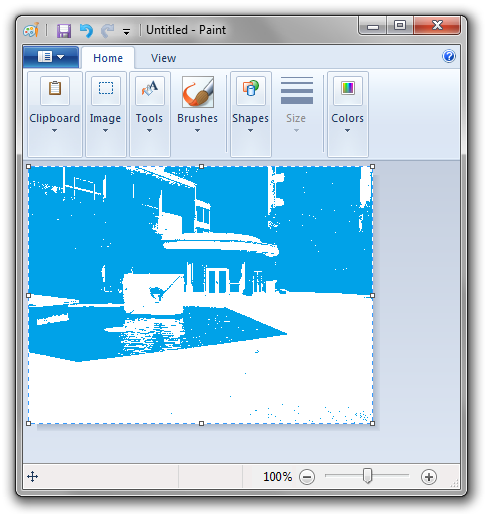
Deselect everything. (Press Escape)
The next goal is to make everything that was white, black. If you're using the old version of MSPaint, this is simple. Just press Ctrl + I to invert the colors. White will turn black and blue will turn red or yellow (depending on which shade of blue you used). However, since this feature was removed in the new MSPaint for Windows 7, you get to have a fun laborious adventure instead. Select white as the background color, select the whole image (Ctrl + A), and then cut it (Ctrl + X). Now select black as the foreground color, and use the bucket to fill the whole image, and then paste. The white in the image that was on the clipboard will now show the black coming through.
If you did everything correctly, you'll have something that looks like this:
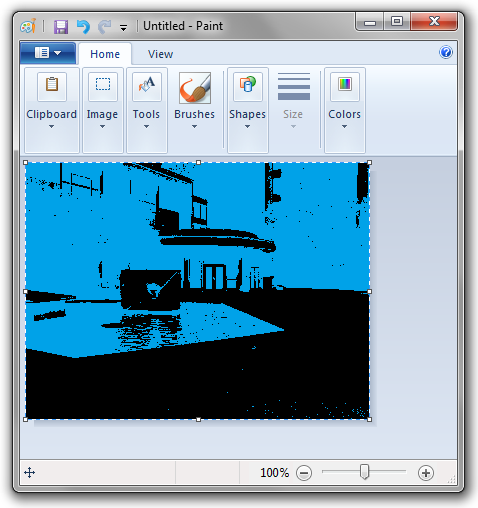
Now go back to the window with the monochrome picture, copy it, come back to this window, and paste it again. Make sure white is your background color.
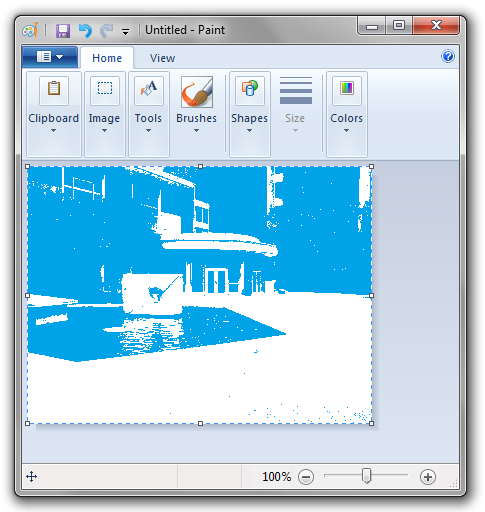
Before you deselect this new pasting, drag the selection to the right 2 pixels and down 2 pixels.
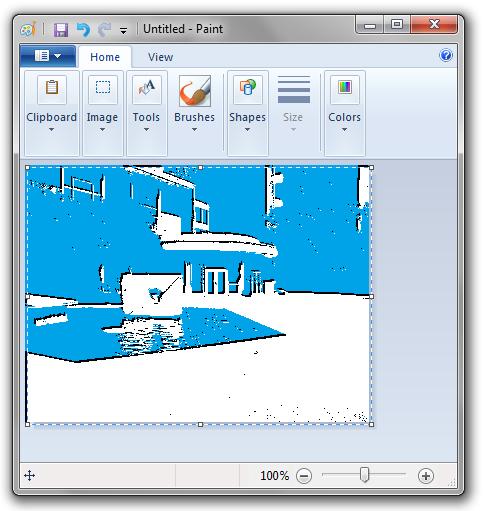
Select All. Cut (Ctrl + X). Fill the now empty image with white and set the blue color as the background color so that when you paste it, white and black will be the only things you will see.
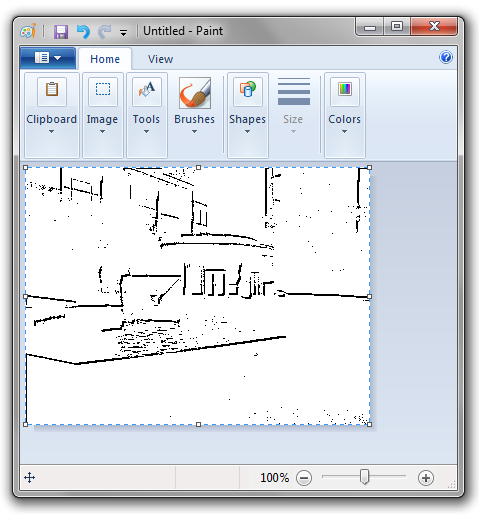
Here's the fun part. Open a new window of MS Paint and do the WHOLE THING over again! Except this time, instead of dragging the picture 2 pixels to the right and 2 pixels down, drag it in the opposite direction, 2 pixels up and 2 pixels left.
Then you'll get something like this....
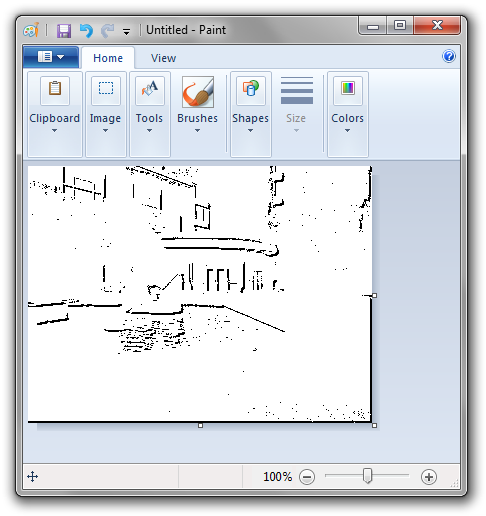
Now copy this new image that you created and paste it on top of the other image you created. Make sure white is the background color. The black pixels from both images will show through and yield this:
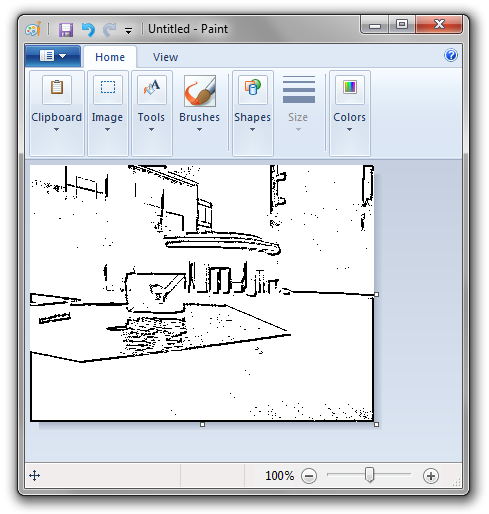
Short, simple, fun, and 10x faster in Photoshop!